Overview
As part of our Food Blogging and E-Profile module in Cork Institute of Technology, we undertook photography training using a DSLR Canon 1200D camera provided by college. We were fortunate enough to get use of the photography studio on two occasions before the college was shut due to Covid-19 restrictions.
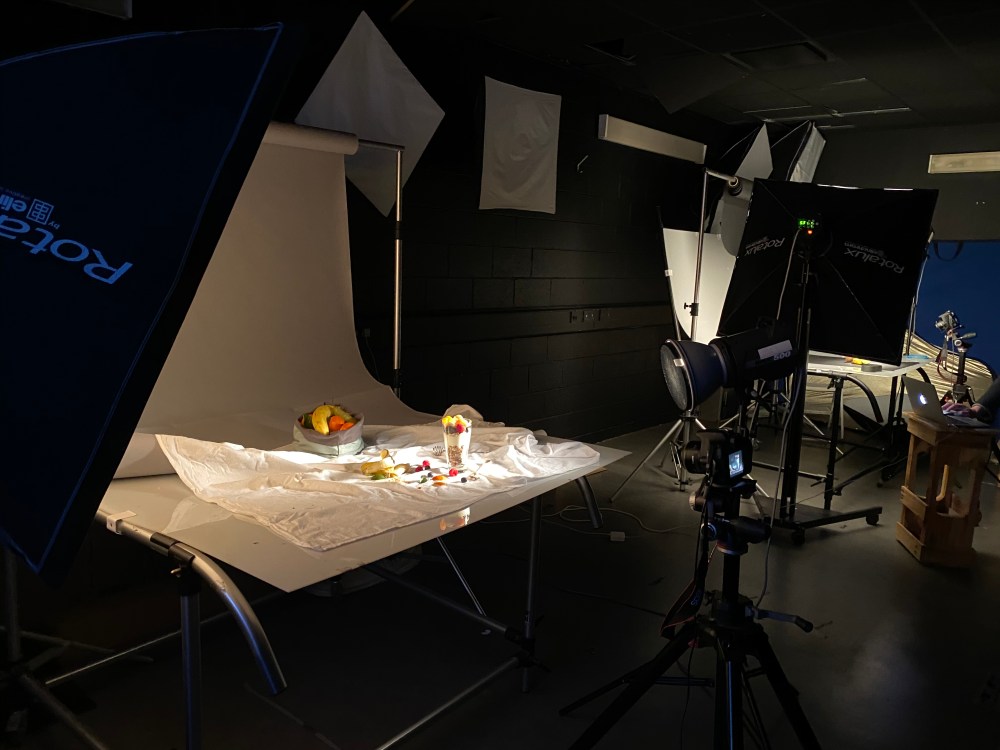
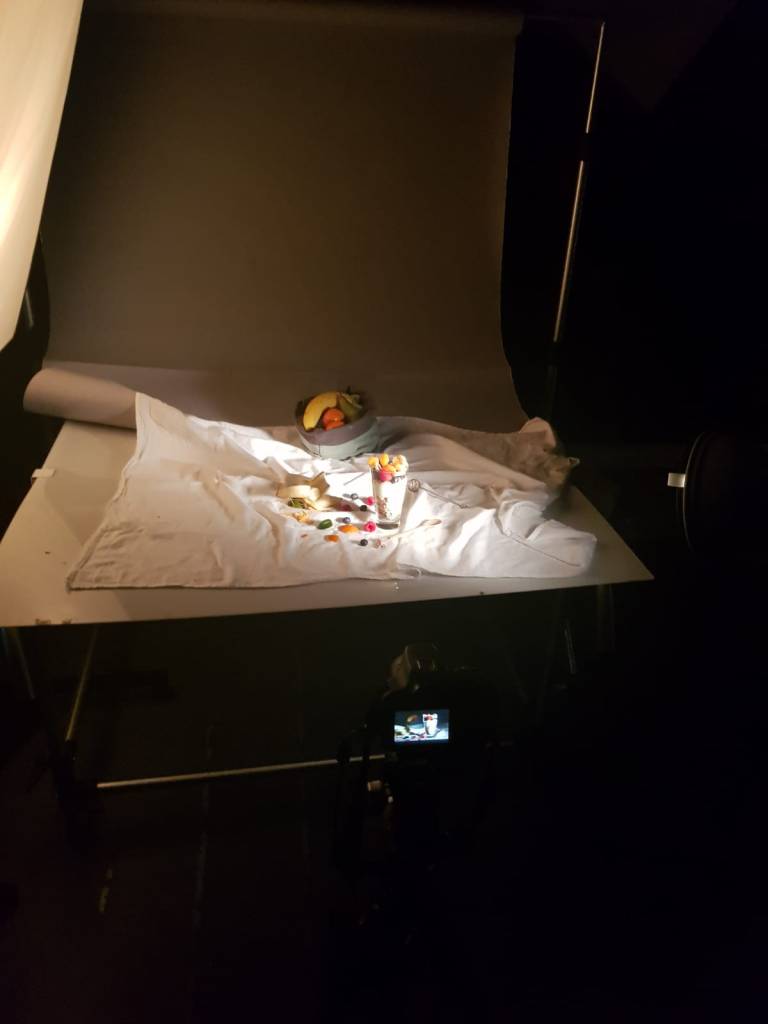
Here we were able to use DSLR cameras, lightboxes and tables to set up our photoshoot. The majority of the photos we took were taken with a 50mm prime lens. We also had a computer screen linked to the camera in order to fine tune our camera settings. Good lighting is so important to get a great quality photo!
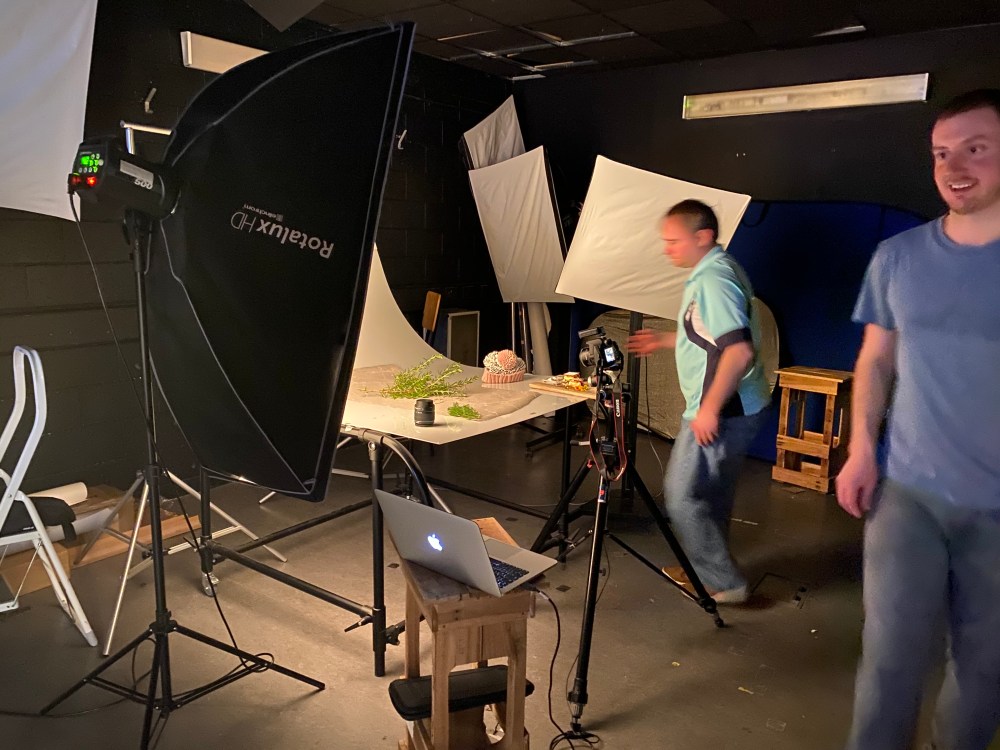

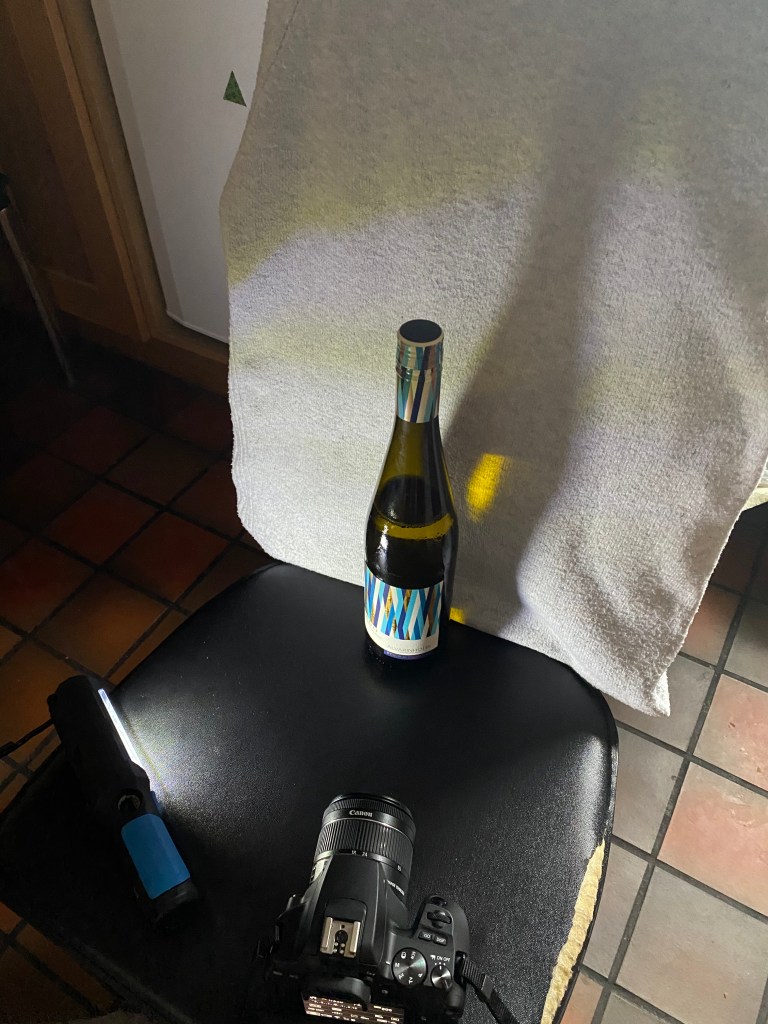
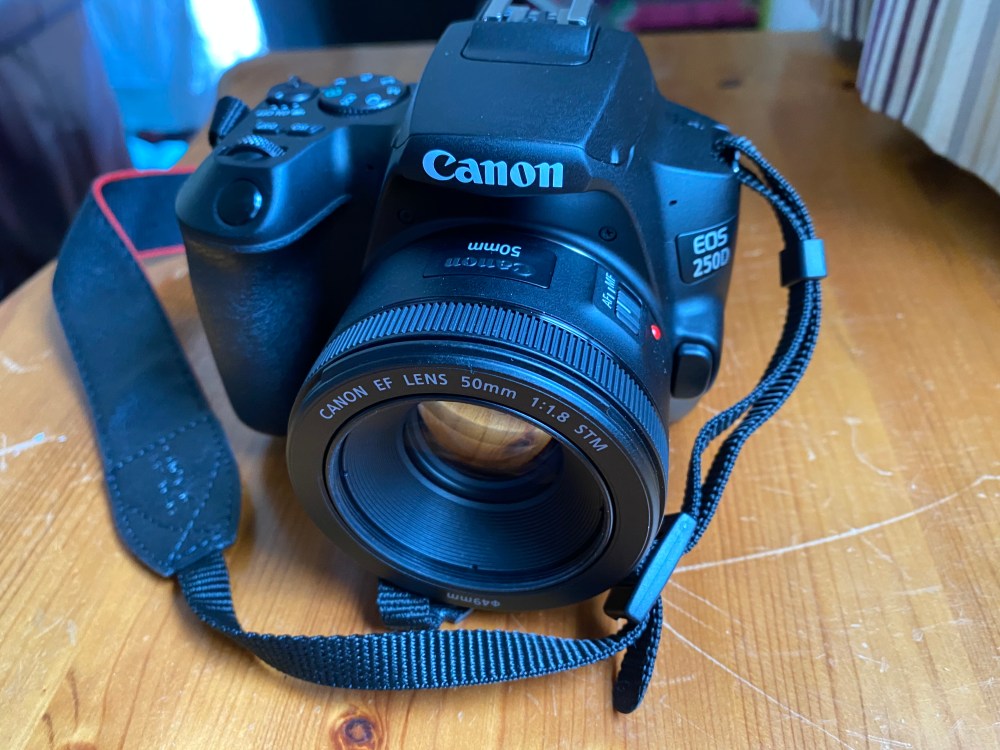
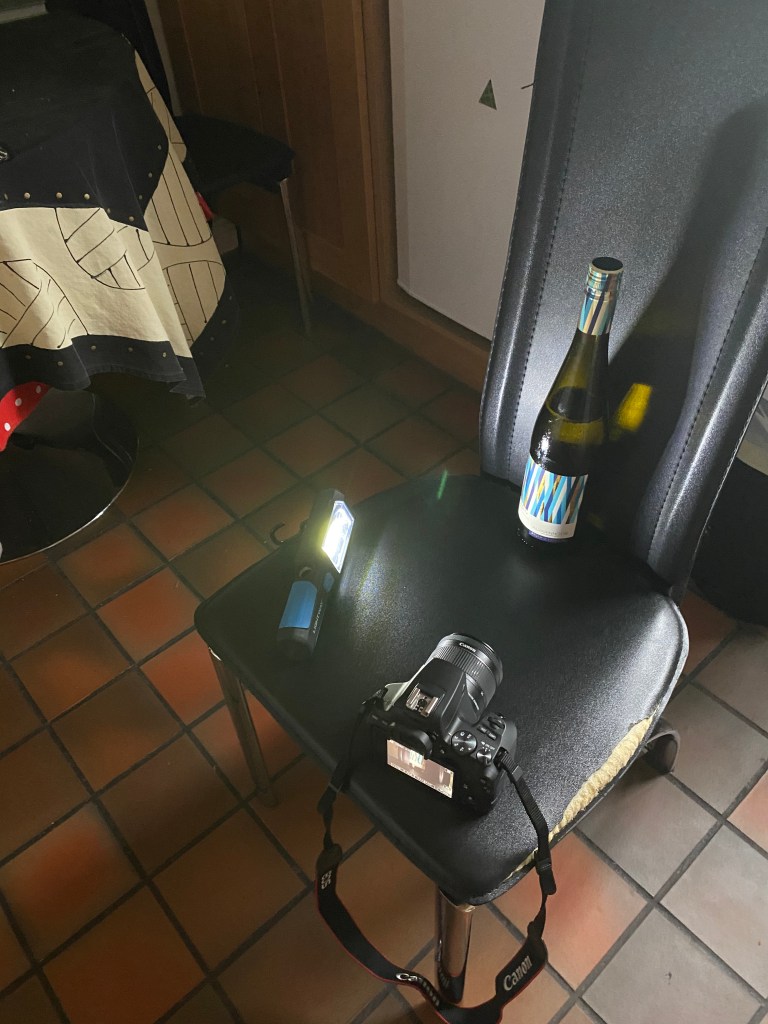
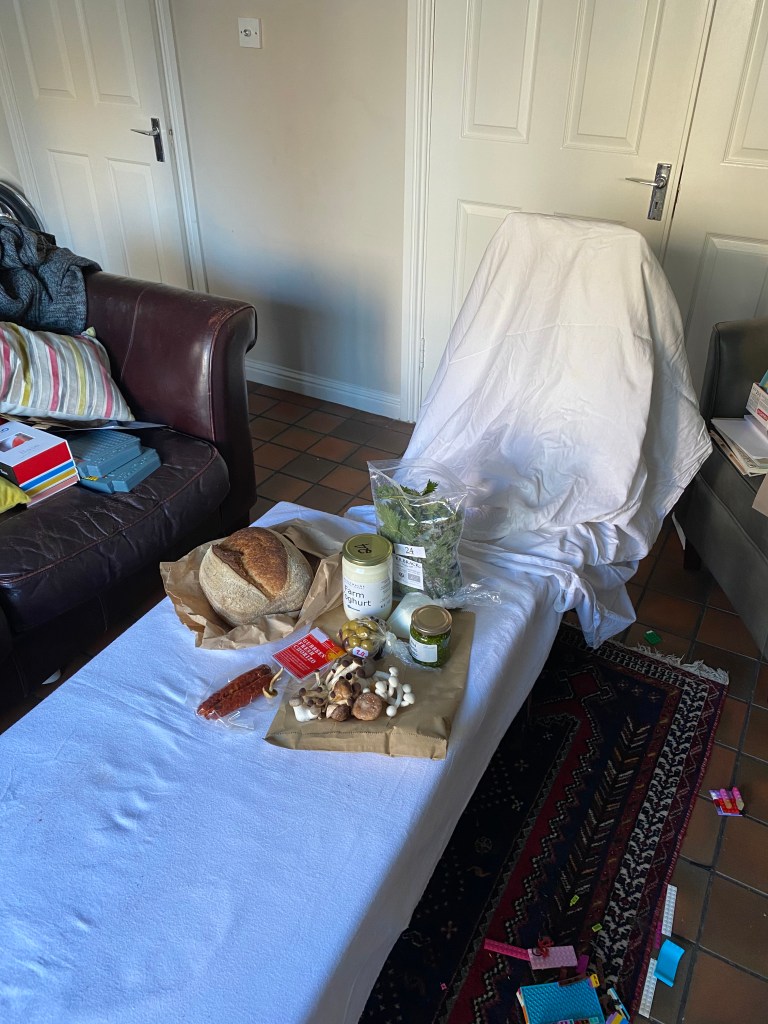
After college closed, we had to use our own imagination to create a studio like atmosphere at home in order to get good photos. I decided to get a Canon 250D DSLR camera since I love photography. Here are a couple of pictures of photography set-ups I created at home.
Camera settings and composition
Using the manual feature on your DSLR camera, allows you to change the way the photo is take by adjusting the shutter-speed, aperture and ISO (light sensitivity). Below you will see examples of photos taken in the studio side by side, where I changed camera setttings or where lighting and composition were changed. What a difference it makes!
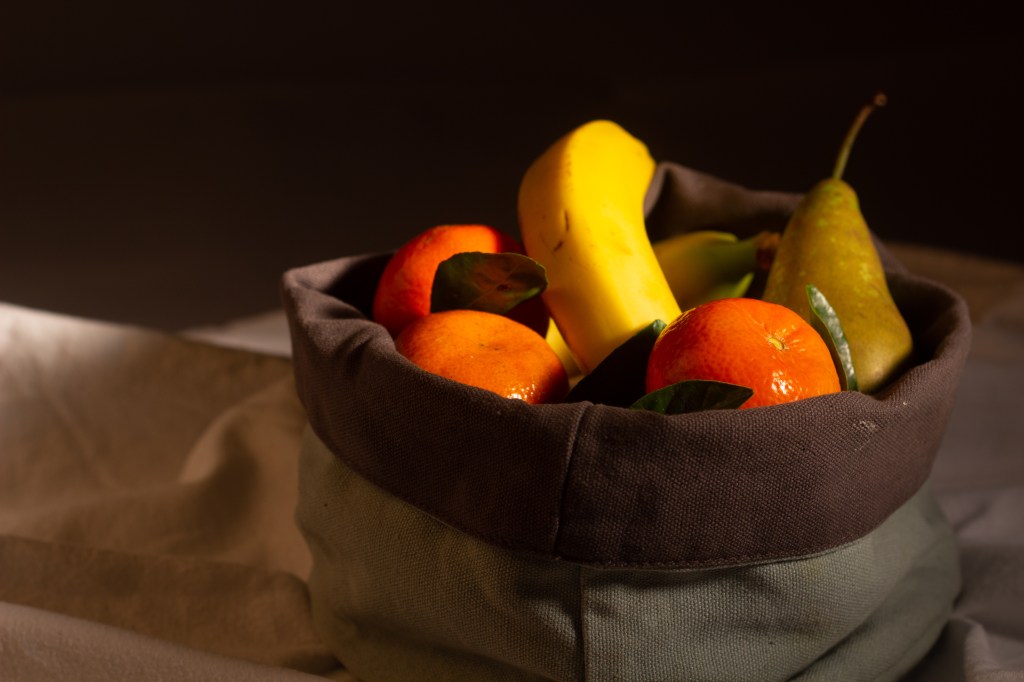
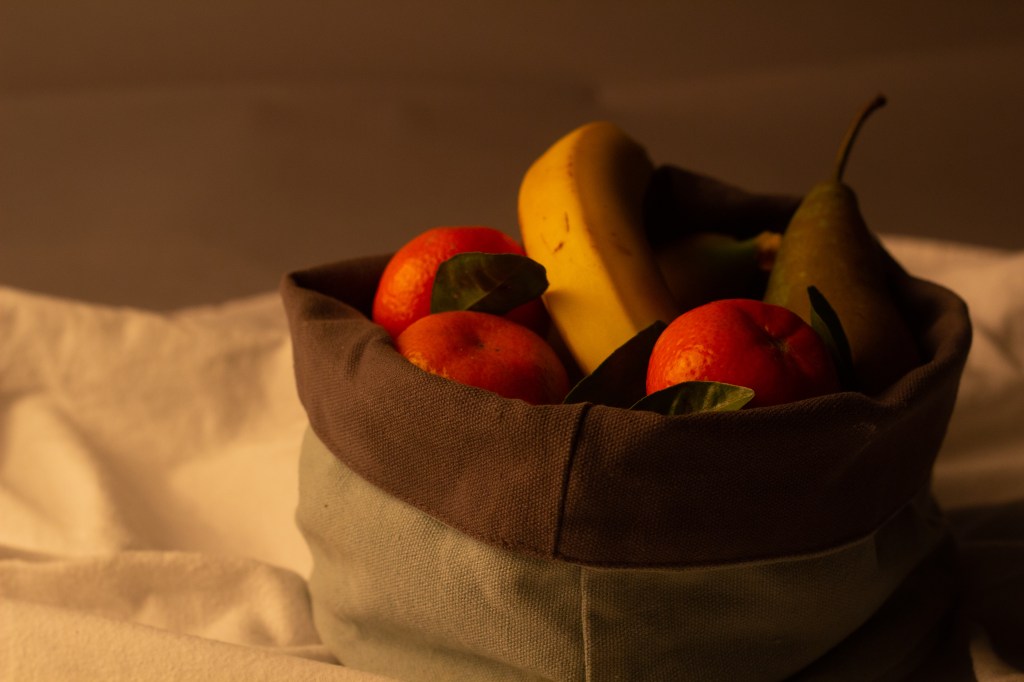
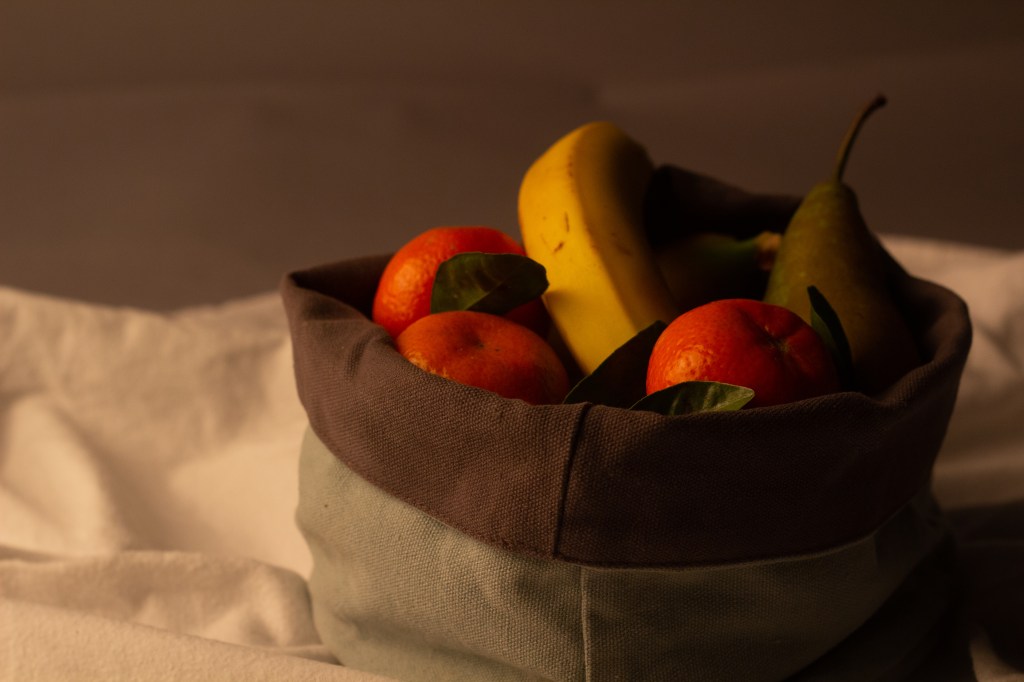
In the fruit bowl photo above, I used one box light and one spot light. You will notice that I turned the lights around to get a warmer feel. Taken with a 50mm lens, the aperture for both photos were set at f4.5 and not a big difference in shutterspeed. 1/5 sec on the left and 1/4 sec on the right. The big change came in when I turned the ISO from 100 top left, to 400 on the top right. I felt this photo was a little bit too warm so in post production, I was able to turn down the white balance temperature to 2952 as shown in the final picture above.
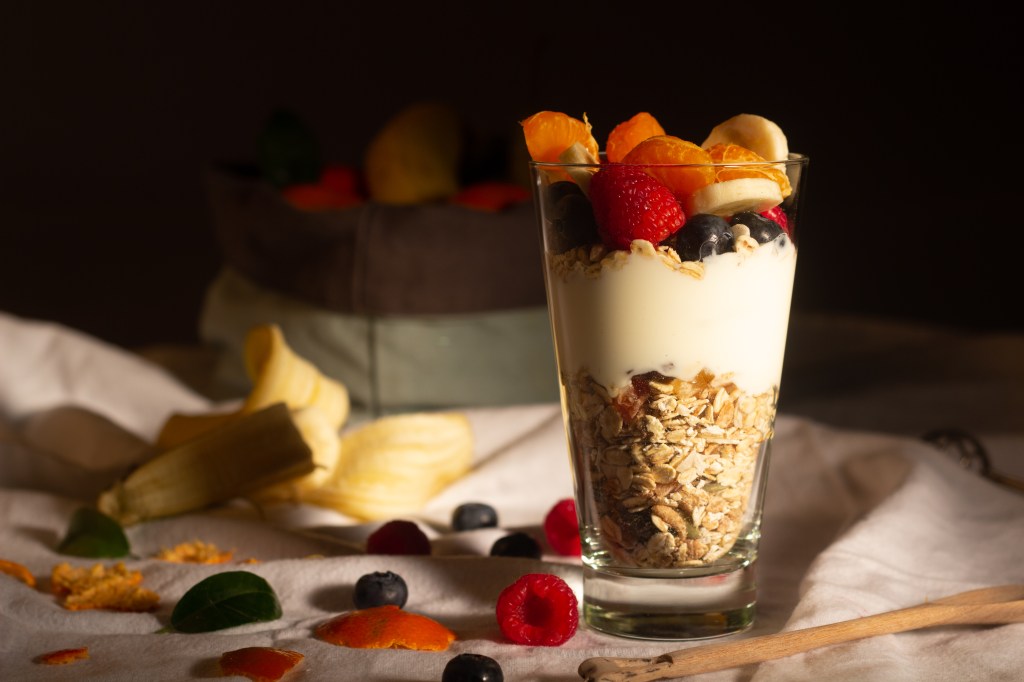
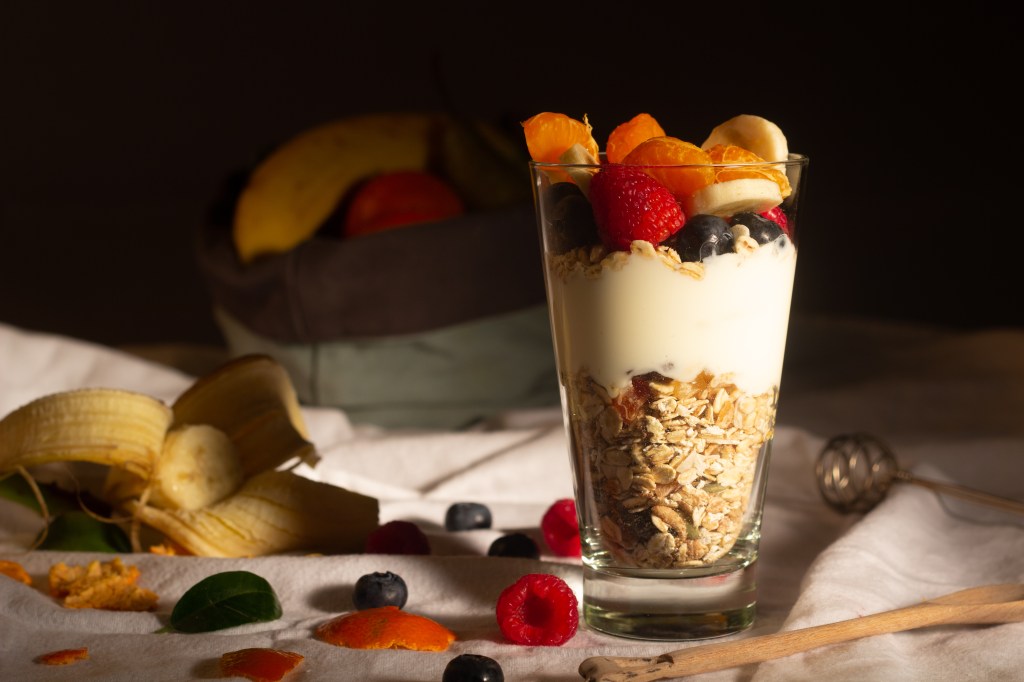
In the yoghurt photo above the ISO was set to 100 for both photos. On the left the aperture was f4.5 with a 1/6 sec shutterspeed, on the right f5.6 with a 1/4 shutterspeed. I also moved items slightly and used a reflector to bounce the light from the main softbox which was on a continous flash.

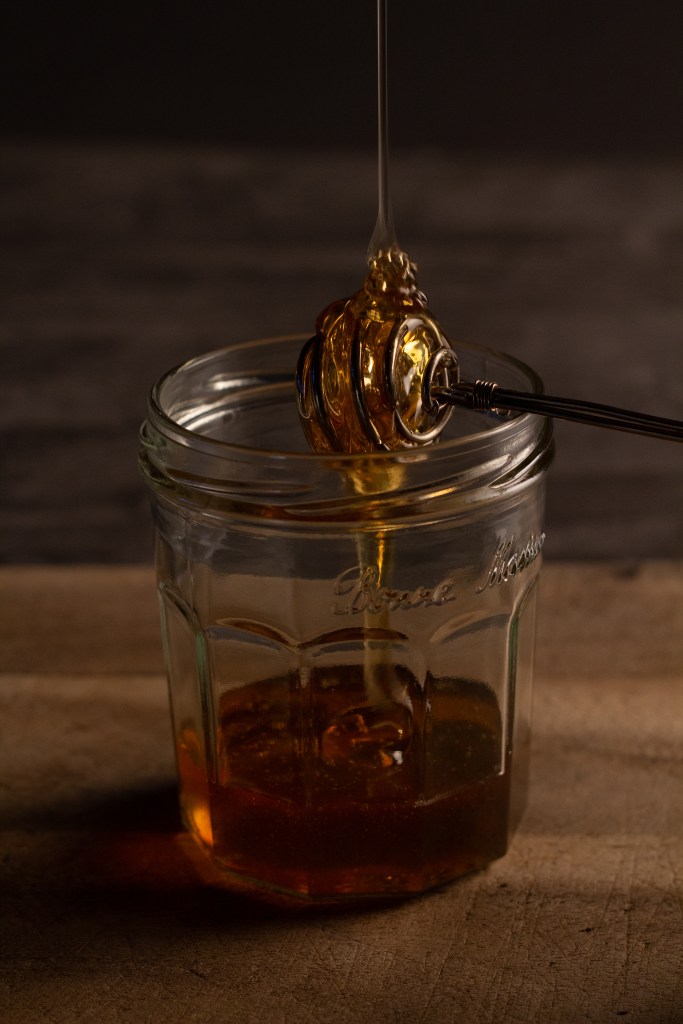
In the above photo of the honey, I changed the camera angle from landscape to portrait to fit the flowing honey in. I also increased the shutterspeed from 1 second to 1/40th of a second to get a steady picture of the flow. As you can see in the picture on the left, the honey looks like it’s on fire because the shutterspeed is too slow. This in turn forces you to increase the light sensitivity (ISO), in this case from 100 to ISO800 and adjust the aperture to f5.0.
Photo editing
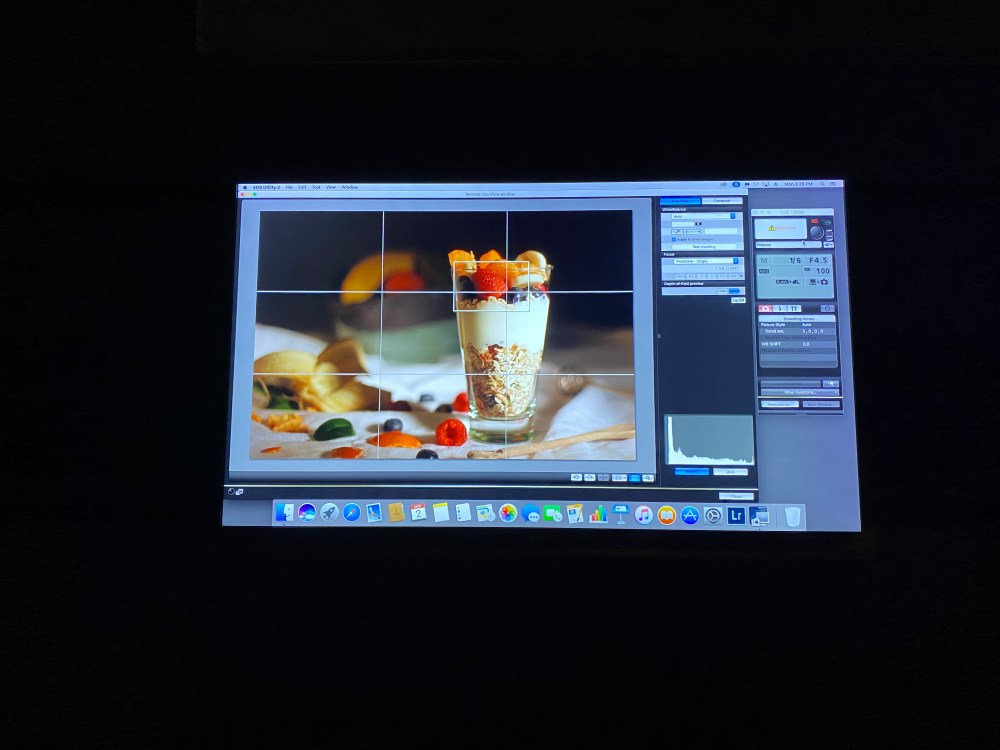
Another aspect of photography that we covered was photo editing. The applications we use are Adobe Lightroom and Adobe Photoshop. This is the real time consuming part of professional photography! You can import RAW files taken by your DSLR or JPEG files taken with a phone camera, and adjust the balance of certain features within your photo. Below you will see photos from before and after editing.
Here is a screenshot of the picture in Adobe Lightroom, take note of the Histogram in the top right corner. This displays the different tones of the photo and their relative balance that can be changed with the sliders below.

You can also get rid of unwanted spots or items in photos with the spot removal tool. For this feature it is probably better to use the more ‘heavy duty’ Adobe Photoshop which edits your images in layers. See if you can notice the spots that have been removed in the photos below!
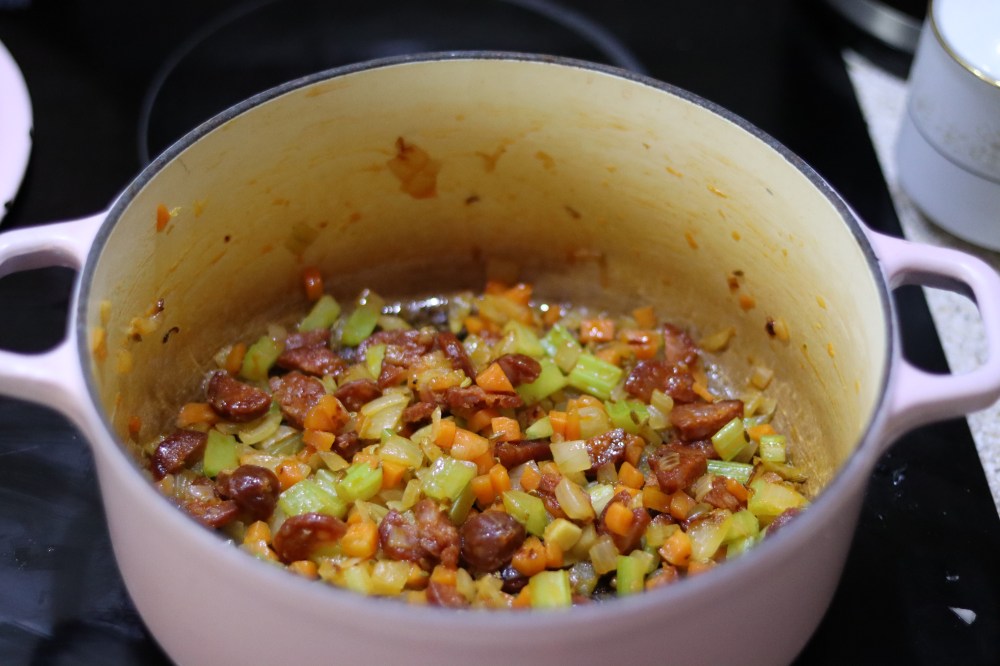
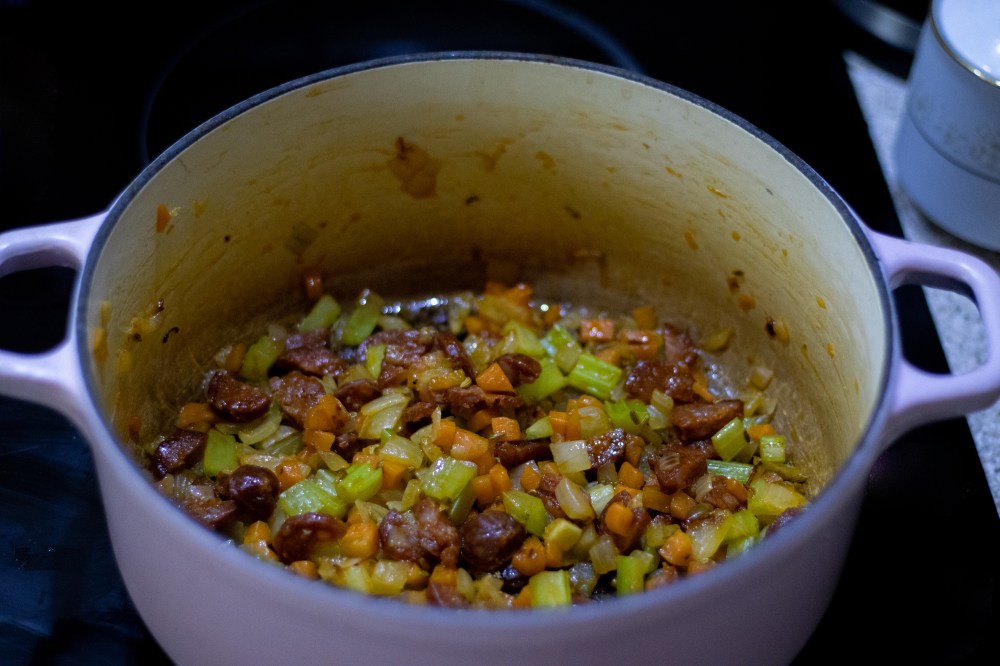
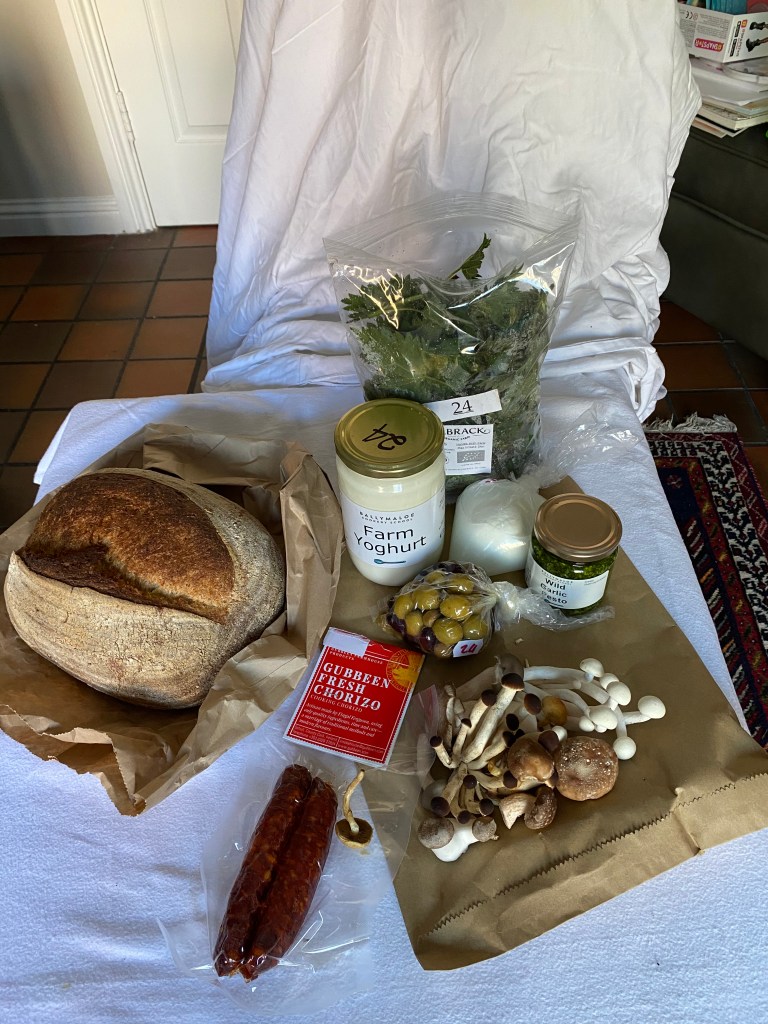
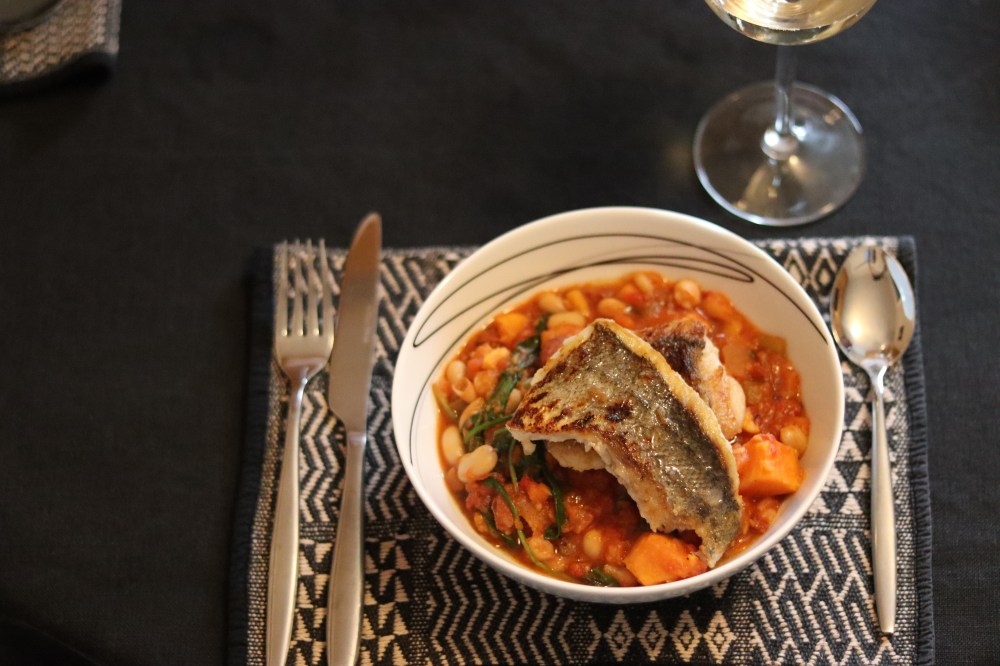
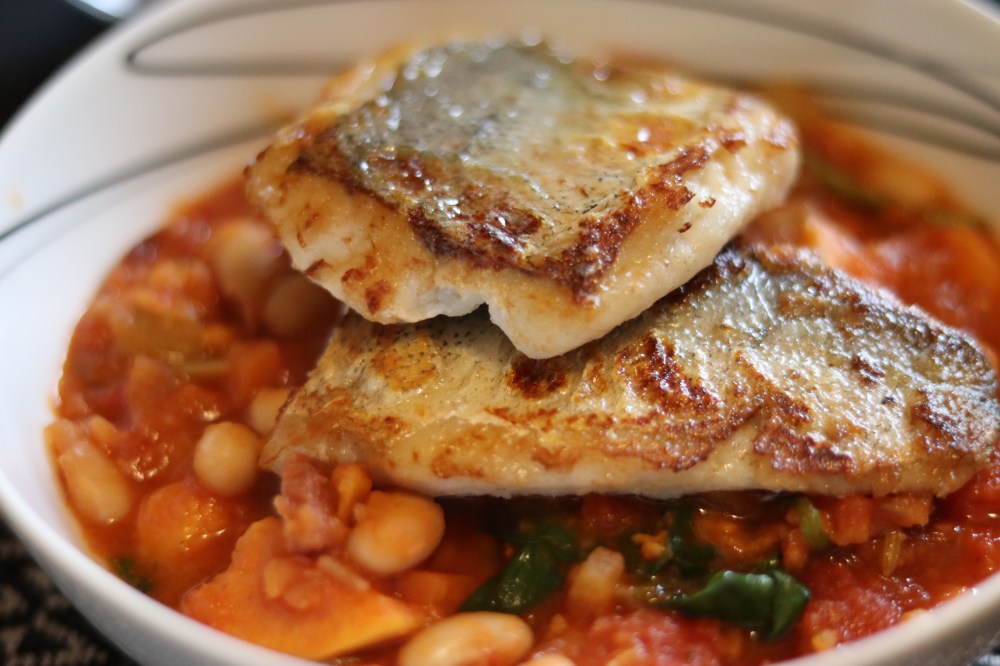
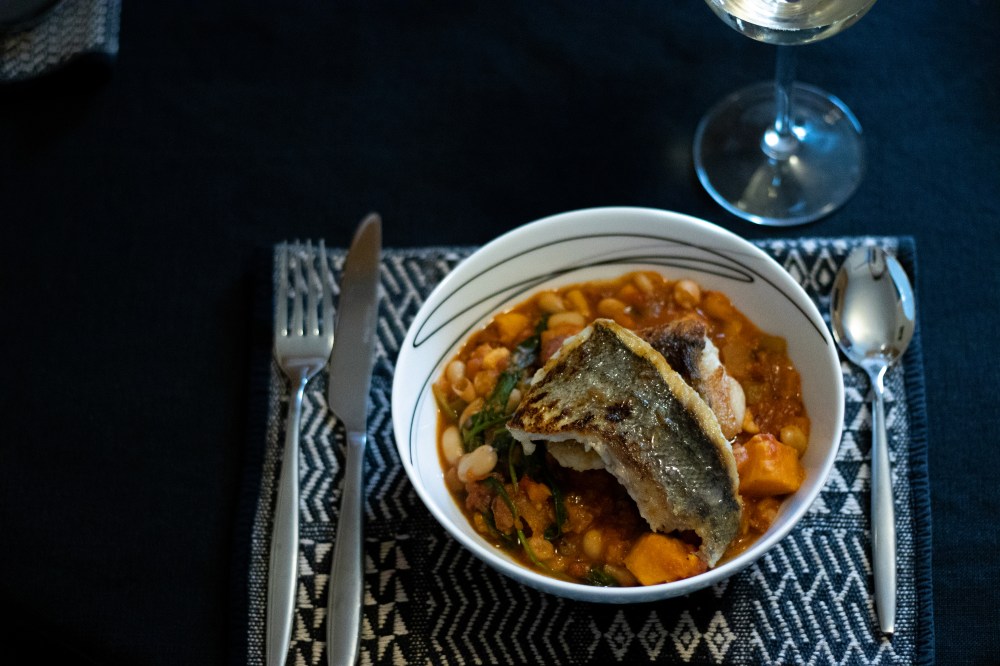
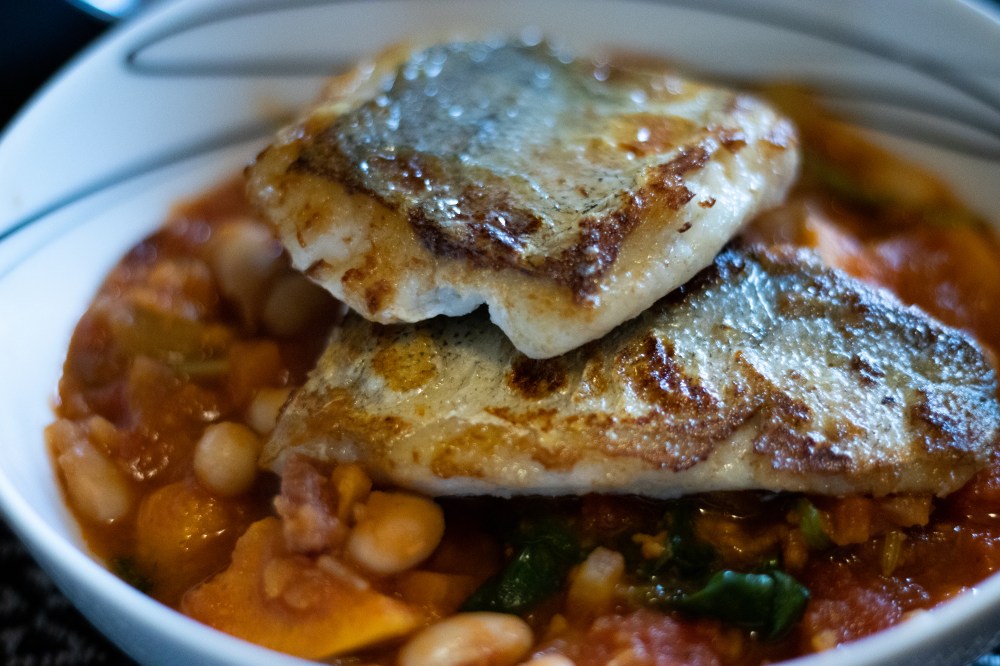
Thanks for reading and I hope you found this page interesting, please let us know via social media or email. Here is a link to the Hake & Chorizo Stew recipe that is featured in some of these images.


